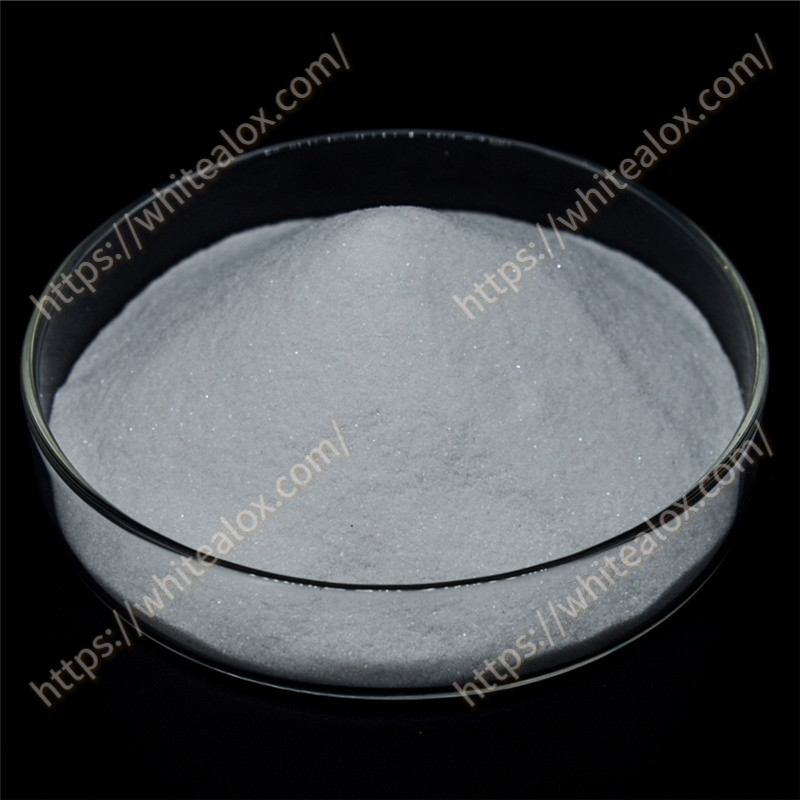
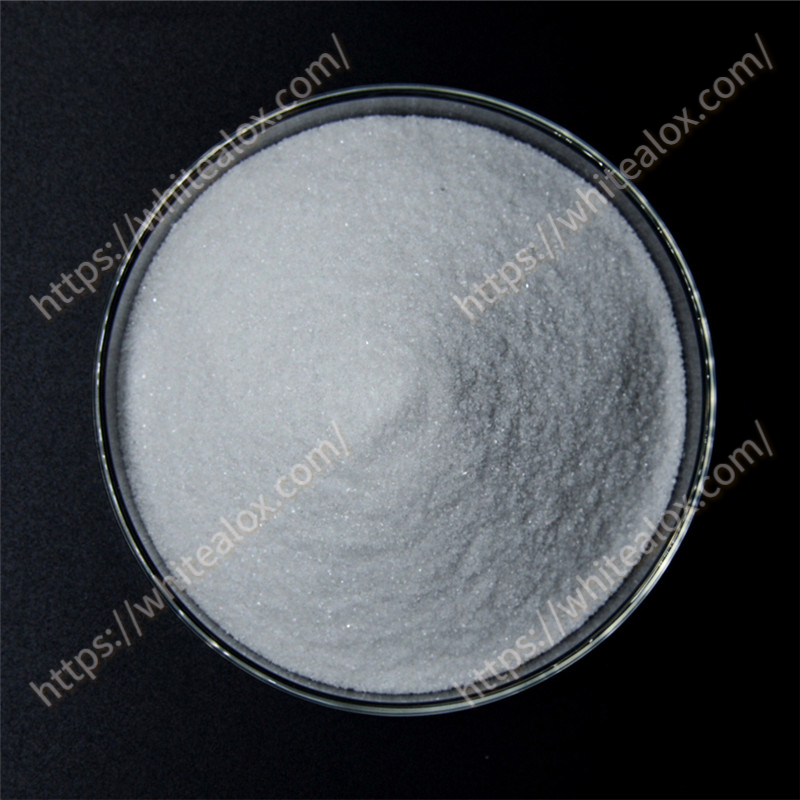
Using white aluminum oxide for blasting is an excellent choice for specific, high-value applications due to its durability and precision. However, it’s a premium abrasive and requires a different approach than common materials like sand or slag.
Understanding White Aluminum Oxide
First, it’s crucial to know why you would choose it:
Extreme Hardness (9.0 on Mohs Scale): Second only to diamond, making it incredibly effective for cutting and profiling.
Sharp & Angular: Creates a very clean, sharp anchor profile on metal surfaces.
Reusable: It doesn’t break down easily and can be recycled many times in a closed-loop system, making it cost-effective over time despite the high initial price.
Low Contamination: It is virtually free of silica and other harmful contaminants, making it safe for critical applications.
Consistent Finish: Produces a uniform, predictable surface profile.
Common Applications:
Critical Surface Preparation: For aerospace components, automotive coatings, and marine applications where adhesion is critical.
Creating Specific Anchor Profiles: (e.g., SA 2.5 or SA 3) on steel before applying high-performance coatings.
Etching & Finishing: Deburring, deflashing, and creating a matte finish on stainless steel, titanium, and other metals.
Restoration: Gently cleaning and restoring valuable tools, engine parts, and historical metalwork without excessive metal removal.
Step-by-Step Guide to Using White Aluminum Oxide
Step 1: Safety First!
This is non-negotiable. Blasting creates immense amounts of dust and noise.
Respirator: A NIOSH-approved supplied-air respirator is mandatory. Do not rely on a dust mask. You are inhaling fine crystalline dust, which is hazardous to your lungs.
Protective Clothing: Wear a full blasting suit, heavy gloves, and a hood. The abrasive will bounce off the workpiece and can sting or cut exposed skin.
Hearing Protection: Blasting cabinets and pots are very loud. Use earplugs or earmuffs.
Eye Protection: Your blasting hood should have a protective face shield, but safety glasses underneath are a good backup.
Ventilation: If using a blast cabinet, ensure it has a properly functioning dust collector. If portable blasting, work in a well-ventilated, controlled area.
Step 2: Equipment Setup & Selection
Using the right equipment is key to maximizing the value of your white aluminum oxide.
Blast Pot (Pressure Blast System): This is the most common and effective method. It uses compressed air to push the abrasive through a hose to the nozzle.
Blast Cabinet: Ideal for smaller parts. It contains the mess and allows for easy recycling of the abrasive.
Nozzle: Use a long-venturi nozzle (e.g., carbide or tungsten carbide). It is more efficient and provides a better blast pattern than a straight bore nozzle, saving you abrasive and time.
Air Compressor: Must be adequately sized. You typically need at least 10 CFM @ 90-100 PSI for a small nozzle, and much more for larger nozzles. Check your blast pot/nozzle requirements.
Moisture Separator: Absolutely critical! Any moisture in your air line will cause the fine aluminum oxide powder to clump and clog your system. Install a high-quality air dryer or filter/separator close to the blast pot.
Step 3: Choosing the Right Grit Size
The grit size determines the aggressiveness and the final surface profile.
Grit 36 – 60: Heavy Duty. For aggressive cleaning, thick mill scale removal, and creating deep anchor profiles (e.g., 3-4 mils).
Grit 80 – 120: General Purpose. The most common range for standard surface preparation, paint stripping, and creating a good anchor profile (e.g., 2-3 mils) for coatings.
Grit 150 – 180: Fine Finishing. For light cleaning, deburring, etching, and creating a finer, smoother surface profile.
Grit 220 & Finer: Polishing/Precision. Used for delicate work, creating a matte finish, and preparing surfaces for plating or non-stick coatings.
Step 4: The Blasting Process
Prepare the Workpiece: Clean the part of any grease, oil, or loose debris. Mask any areas you do not want to be blasted.
Set Up Your Equipment:
Fill your blast pot with clean, dry white aluminum oxide.
Set your air pressure. Start around 80-100 PSI and adjust from there. Higher pressure cuts faster but consumes more abrasive and can cause premature nozzle wear.
Do a quick test on a scrap piece of similar material to check the pattern and aggressiveness.
Blasting Technique:
Keep the Nozzle Moving: Never hold the blast stream in one spot. Use a smooth, sweeping motion.
Maintain Consistent Distance: Typically 6 to 18 inches from the workpiece. Closer is more aggressive; farther away is less aggressive and creates a wider pattern.
Angle of Attack: Blast at a 75-90 degree angle to the surface for the most effective cutting and profile creation.
Work in Sections: Systematically cover the entire surface to ensure a uniform finish.
Step 5: Post-Blasting & Cleanup
In a Cabinet: The abrasive will collect at the bottom. Most cabinets have a recycling system that sifts out the dust and fines, allowing you to reuse the good abrasive.
In an Open Blast: The abrasive is typically not recovered, which is very expensive with white aluminum oxide. For open blasting, consider using a blast recovery system or tarps to collect and screen the abrasive for reuse.
Clean the Surface: After blasting, use clean, dry air to blow off the dust from the surface. For critical coating applications, follow up with a solvent wipe to remove any residual dust before the coating is applied. The surface should be coated as soon as possible after blasting to prevent flash rusting on steel.


